Aluminum alloy remains the dominant material for mid-to-high performance bicycle frames. It delivers high strength-to-weight ratio, good corrosion resistance and affordable manufacturing costs. However, one persistent headache for frame fabricators is welding distortion. Unlike steel, aluminum has high thermal conductivity and large thermal expansion coefficient. Local heating during welding creates uneven thermal stress, which bends, twists or shrinks the bike frame after cooling. Once distortion occurs, frame alignment correction adds extra labor cost, increases scrap rate and may compromise riding safety. Learning how to prevent aluminum bike frame welding distortion is essential for bike OEM factories and custom frame builders.
Many workshops try to fix distorted frames after welding, yet correction work can introduce hidden residual stress. The best strategy is prevention: control heat input, restrain workpiece movement and optimize welding workflow before and during fabrication. This article breaks down practical, field-proven measures to prevent aluminum bike frame welding distortion.
Understand Why Aluminum Bike Frames Distort During Welding
To prevent aluminum bike frame welding distortion, it is necessary to understand its root cause. Aluminum expands significantly when heated and contracts sharply during cooling. The weld zone experiences rapid temperature fluctuation, while the rest of the tube stays at ambient temperature. Uneven contraction creates internal stress.
Bike frames consist of multiple thin-wall aluminum tubes joined at complex joints: head tube, top tube, down tube, seat tube and chain stays. These thin-walled extruded tubes are very sensitive to thermal deformation. Even small heat imbalance can pull tubes out of tolerance, leading to misaligned dropouts or twisted frame geometry.
Common distortion types on aluminum bike frames include longitudinal shrinkage, angular distortion, frame twisting and local buckling. Different distortion forms require matched preventive measures.
Optimize Welding Fixtures and Clamping
Custom rigid fixtures are the first line of defense to prevent aluminum bike frame welding distortion. A precision fixture locks every tube in its designed position and restrains free movement during thermal expansion and contraction. Without proper clamping, tubes will shift as the weld cools.
The fixture must match the frame’s CAD geometry precisely. It should support all key reference points: head tube, bottom bracket shell and rear dropouts. Use adjustable quick-release clamps instead of over-tight rigid locks. Too much permanent clamping force can create pre-stress on aluminum tubes, which releases after clamps are removed and causes late deformation.
Workshops often make a mistake: removing clamps immediately after welding. For aluminum bike frames, keep the frame fixed on the fixture until it fully cools down to room temperature. This simple rule greatly reduces spring-back distortion.
Reasonable Welding Sequence
Welding sequence directly impacts heat distribution and is a low-cost way to prevent aluminum bike frame welding distortion. The core principle is balanced heat input. Do not continuously weld all joints on one side of the frame in a row. Concentrated heat on a single side will pull the frame toward that side.
Use skip welding and symmetrical welding strategies. For a bicycle frame, alternate welding between left and right symmetric joints. Complete short weld segments on one joint, then switch to its opposite joint to distribute heat evenly. Avoid long continuous weld beads. Intermittent welding reduces total heat accumulation on thin aluminum tubing.
For multi-tube assemblies, weld non-critical joints first, then move to high-load main joints such as bottom bracket connections. This approach releases minor stress step by step and avoids stacking large residual stress in core structural positions.
Control Heat Input and Preheating Rules
High heat input is the main trigger for welding distortion on thin aluminum bike tubing. Reduce total heat while ensuring full weld penetration. Most bike frame manufacturers use GTAW / TIG welding for aluminum frames. Adjust welding current, travel speed and arc length carefully. A slower travel speed adds excessive heat and amplifies deformation.
Preheating needs careful handling. Thin-wall 6061 or 7005 aluminum bike tubes usually do NOT require high-temperature preheating. Excessive preheating expands tubes further and worsens distortion. Preheating is only recommended for thick joint sections, and keep preheat temperature below 100°C. Uniform low-temperature preheating helps remove surface moisture and reduces temperature gradient without adding excess thermal stress.
Use heat sink copper backing plates at weld joints when possible. Copper conducts heat quickly and limits the heat-affected zone on thin aluminum tubes.
Select Proper Aluminum Filler Wire
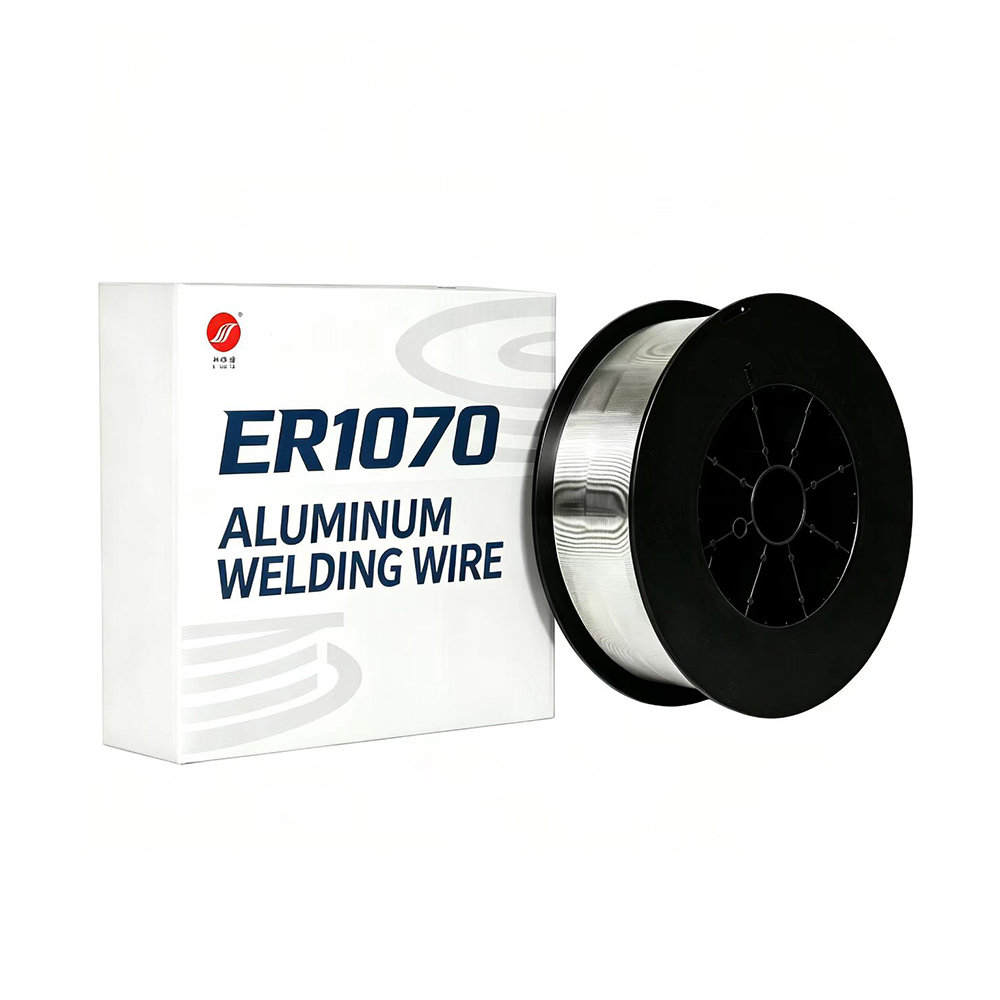
Filler wire selection plays an important role to prevent aluminum bike frame welding distortion. Matching filler metal can reduce weld shrinkage and improve joint ductility. For 6061 aluminum bike frames, ER4043 and ER5356 are the most widely used aluminum welding wires.
ER4043 silicon aluminum wire has lower shrinkage rate, good fluidity and less tendency for hot cracking. It works well for frame joints where dimensional stability is the top priority. ER5356 magnesium aluminum wire offers higher weld tensile strength, suitable for high-stress joints, but it has slightly higher shrinkage.
Select the correct wire diameter. Over-sized wire needs higher heat input to melt, which increases distortion risk. Thin 1.2mm or 1.6mm wires are preferred for most thin-wall bike tube TIG welding.
Material and Tube Preparation
Raw material quality and pre-weld preparation also help prevent aluminum bike frame welding distortion. Use consistent-grade extruded aluminum tubes with uniform wall thickness. Tubes with uneven wall thickness deform unevenly under welding heat.
Remove oxide layer thoroughly before welding. Aluminum oxide film has high melting point. If not cleaned, operators need higher heat input to achieve sound welds, which brings extra heat and distortion. Use stainless steel wire brush or chemical degreaser to clean tube joint areas. Oil, grease and lubricant residues also cause weld porosity, forcing rework and repeated heating. Each re-weld cycle increases frame deformation risk.
Post-weld Cooling and Stress Relief
Controlled cooling is often overlooked. Never use compressed air to rapidly quench hot aluminum welds. Fast cooling creates sharp temperature difference and increases residual stress. Let frames cool naturally in still air.
For high-end production batches, low-temperature post-weld stress relief can be applied. The process relieves residual stress without changing frame geometry. Stress relief reduces the chance of slow dimensional shift after machining or painting.
Conclusion
Preventing aluminum bike frame welding distortion relies on systematic process control, not one single trick. Rigid fixture clamping, symmetrical welding sequence, low and balanced heat input, proper aluminum filler wire and standardized pre/post weld handling work together to keep frame geometry within tolerance.
For bicycle frame manufacturers, building standardized SOP for distortion prevention cuts scrap rate, reduces rework and guarantees consistent frame quality. When distortion still occurs after prevention steps, targeted correction solutions can be adopted, which we cover in our separate guide about practical bike frame distortion correction solutions.